Tutorial 7 min read
How to Install Faux Metal Beams: A Step-by-Step Tutorial
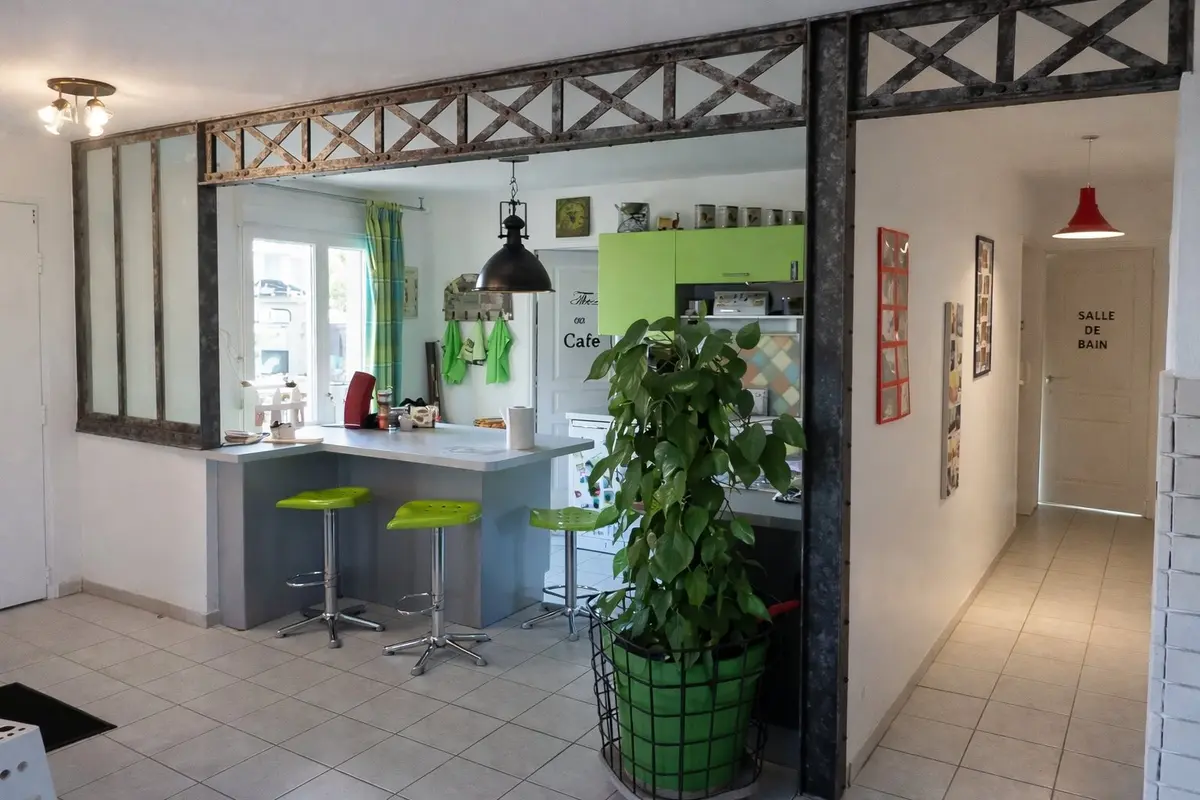
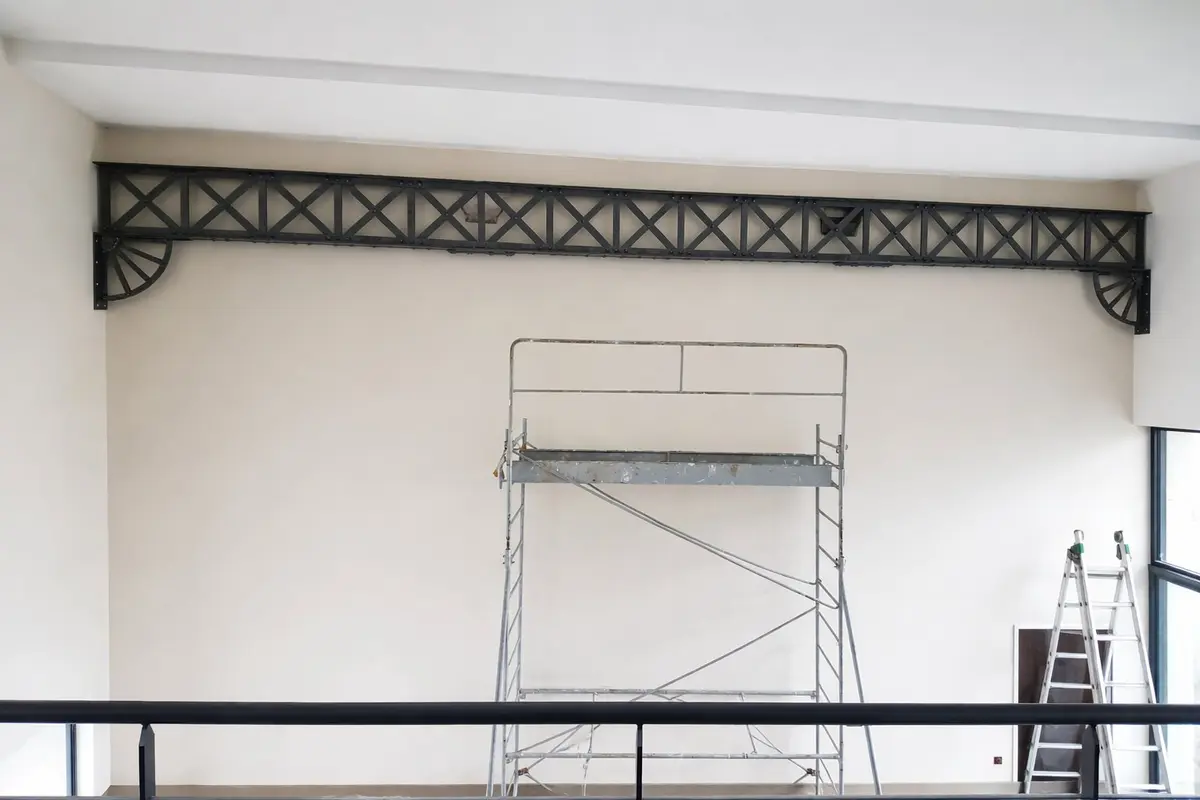
Your faux metal beams have just arrived and you're wondering how to put them up. Here's the good news: the installation is far simpler than you might expect. Where a real steel beam requires a crew, heavy equipment and often structural reinforcement, a wood beam with a metal effect finish goes up in 30 minutes to an hour, and in most cases, you can do it entirely on your own.\n\nThis tutorial focuses on ceiling installation, which is the most common application, but the same principles apply to wall mounting, door framing, and column cladding.
What you will need
Tools
A tape measure and pencil for marking out. A laser level or spirit level (the laser is more comfortable when working alone on a ceiling). A cordless drill-driver with bits suited to your ceiling type. A stable stepladder at the right height. A stud finder if your ceiling is plasterboard (recommended but not essential).
Fixings
The right fixing depends on your ceiling:
Plasterboard / drywall ceiling: metal Molly bolts (rated at 15-20 kg per fixing) or toggle bolts. Allow 3 to 4 fixing points per 2-metre beam. If you locate the metal studs in the framing with your stud finder, screw directly into them, that is the most secure fixing on plasterboard.
Concrete ceiling: standard hammer anchors or expansion plugs. Drill with a masonry bit, insert the anchor, drive the screw. Simple and extremely solid.
Timber ceiling (joists or panelling): direct wood screws, 50-60 mm. The easiest fixing of all.
Supplies
Timber battens (40x40 mm or 30x50 mm section) to act as an intermediate support between the ceiling and the beam. Wood screws to fix the beam to the battens. Touch-up paint (supplied with our beams) to conceal the screw heads.
Step 1, Marking out
Start by establishing the exact position of your beams. Ask yourself the key questions: which direction will they run (parallel or perpendicular to the length of the room)? How many beams? What spacing between them?
Spacing guidelines: for a natural, balanced effect, space the beams 80 to 120 cm apart, measured centre to centre. Regular spacing gives a structurally convincing result, as though the beams were always part of the original framework. Irregular or overly wide spacing breaks the illusion.
Mark the centreline of each beam on the ceiling using your laser level. Mark the batten fixing points: one at each end of the beam (10-15 cm from the edge) and one every 50 to 60 cm in between. For a 2-metre beam, that gives 4 fixing points.
If your ceiling is plasterboard, run the stud finder along the marked centreline. Every stud you locate is an ideal fixing point, mark it clearly. If the studs do not fall in the right places, use Molly bolts between them.
Step 2, Fixing the battens
The battens are the key to a clean, solid installation. They act as the interface between the ceiling and the beam, the beam will be secured to them.
Cut the battens to match the internal width of your beam. If your beam has a hollow rectangular profile (an upside-down U shape), the batten must fit inside it. If your beam is solid (an IPN profile, for example), the battens are fixed directly to the ceiling and the beam is screwed to them from below through its flanges.
For a hollow (rectangular-section) beam: fix the battens to the ceiling with the appropriate anchors for your surface. Check the alignment with your level, all the battens must sit in exactly the same plane, otherwise the beam will not sit flat against the ceiling. Tighten the fixings fully.
For an IPN beam: space the battens apart by the width of the beam's web. The IPN beam sits over the battens, with its upper flanges resting on them. Secure it with discreet screws driven laterally through the flanges.
Step 3, Fitting the beam
This is the most satisfying step, the one where the room transforms before your eyes.
For a hollow beam: lift the beam and slot it over the battens. The hollow section fits down over the battens like a cap. Check that the beam sits flush against the ceiling along its full length. Secure it by driving screws through the sides of the beam into the battens, 30-40 mm screws are sufficient. Drive the screw heads just below the surface so they can be concealed.
For an IPN beam: position the beam so the battens sit between the upper flanges. Drive screws laterally through the flanges into the battens. The screws are naturally hidden by the beam's profile and cannot be seen from floor level.
Working alone tip: if the beam is long (more than 2 metres), use a telescopic drywall support prop to hold one end while you fix the other. This tool costs about twenty euros to hire and makes the job enormously more comfortable.
Step 4, Touch-ups and finishing
Once the beam is fixed, inspect every screw point. Any visible screw head must be concealed with the touch-up paint matched to your beam's finish. We supply this paint with every order, it is an exact match for the tone of your beams.
Apply a small dab of paint with a fine brush over each screw head. Allow 30 minutes to dry. The result is invisible from floor level, nobody will suspect the beams are not part of the original structure.
If you are joining beams end to end to cover a long span, take care with the junction. Bring the two ends together with no visible gap. Apply a line of touch-up paint across the join to blend it into the finish. From floor level, the join is undetectable.

Step 5, Final check
Step back. Look at your beams from different angles around the room, and from the doorway, that is the first view your visitors will have. Check that the beams are parallel to each other and perfectly straight. Check that no screw heads are visible. Check that the beams sit flush against the ceiling with no gap.
If a beam has a slight gap in places (because the ceiling is not perfectly flat), apply a paintable acrylic filler in the ceiling colour between the beam and the ceiling. This fills the gap and gives a flawless finish.
Mistakes to avoid
Skipping the battens. It is tempting to glue the beam directly to the ceiling, but this is unreliable over time, especially with changes in temperature and humidity. Battens combined with screws are the only fixing method we recommend for a lasting result.
Neglecting the level. A beam fitted with even a few millimetres of tilt is immediately visible, the human eye detects departures from parallel with remarkable accuracy. Spend five minutes marking out carefully with a laser level and you will save yourself the trouble of starting over.
Using the wrong fixings. On plasterboard, standard plastic wall plugs will not hold. Always use metal Molly bolts or screw directly into the framing studs. On concrete, use expansion anchors, not low-grade hammer plugs.
Over-tightening into plasterboard. If you feel the anchor spinning freely, stop. The plasterboard is stripped or crushed. Move the fixing point a few centimetres and start again with a fresh anchor.
Installation times at a glance
A 2-metre beam on a plasterboard ceiling: 45 minutes to 1 hour (marking out, battens, fitting, touch-ups).
A 2-metre beam on a concrete or timber ceiling: 30 to 45 minutes.
A complete ceiling (4 to 6 beams): half a day for one person working alone, 2 to 3 hours with two people.
This is considerably faster than installing real steel beams, which typically takes a full day for two or three people with heavy-duty equipment.
Need a professional installation service?
If you would prefer to have the installation handled by a professional, we offer a fitting service for projects in the Auvergne-Rhone-Alpes region and neighbouring areas. We also work across France for full-space projects in restaurants, hotels, and chalets.
Before installing, you have to choose the beam: browse our made-to-measure metal-effect wood beams.